The Proofread tool checks your documents for spelling, grammar, punctuation, and style issues. Select a ruleset — or create your own — then get a corrected version with tracked changes so you can review every edit.
Proofread a Document
- Open the document you want to proofread
- Click Actions > Document Tools > Proofread
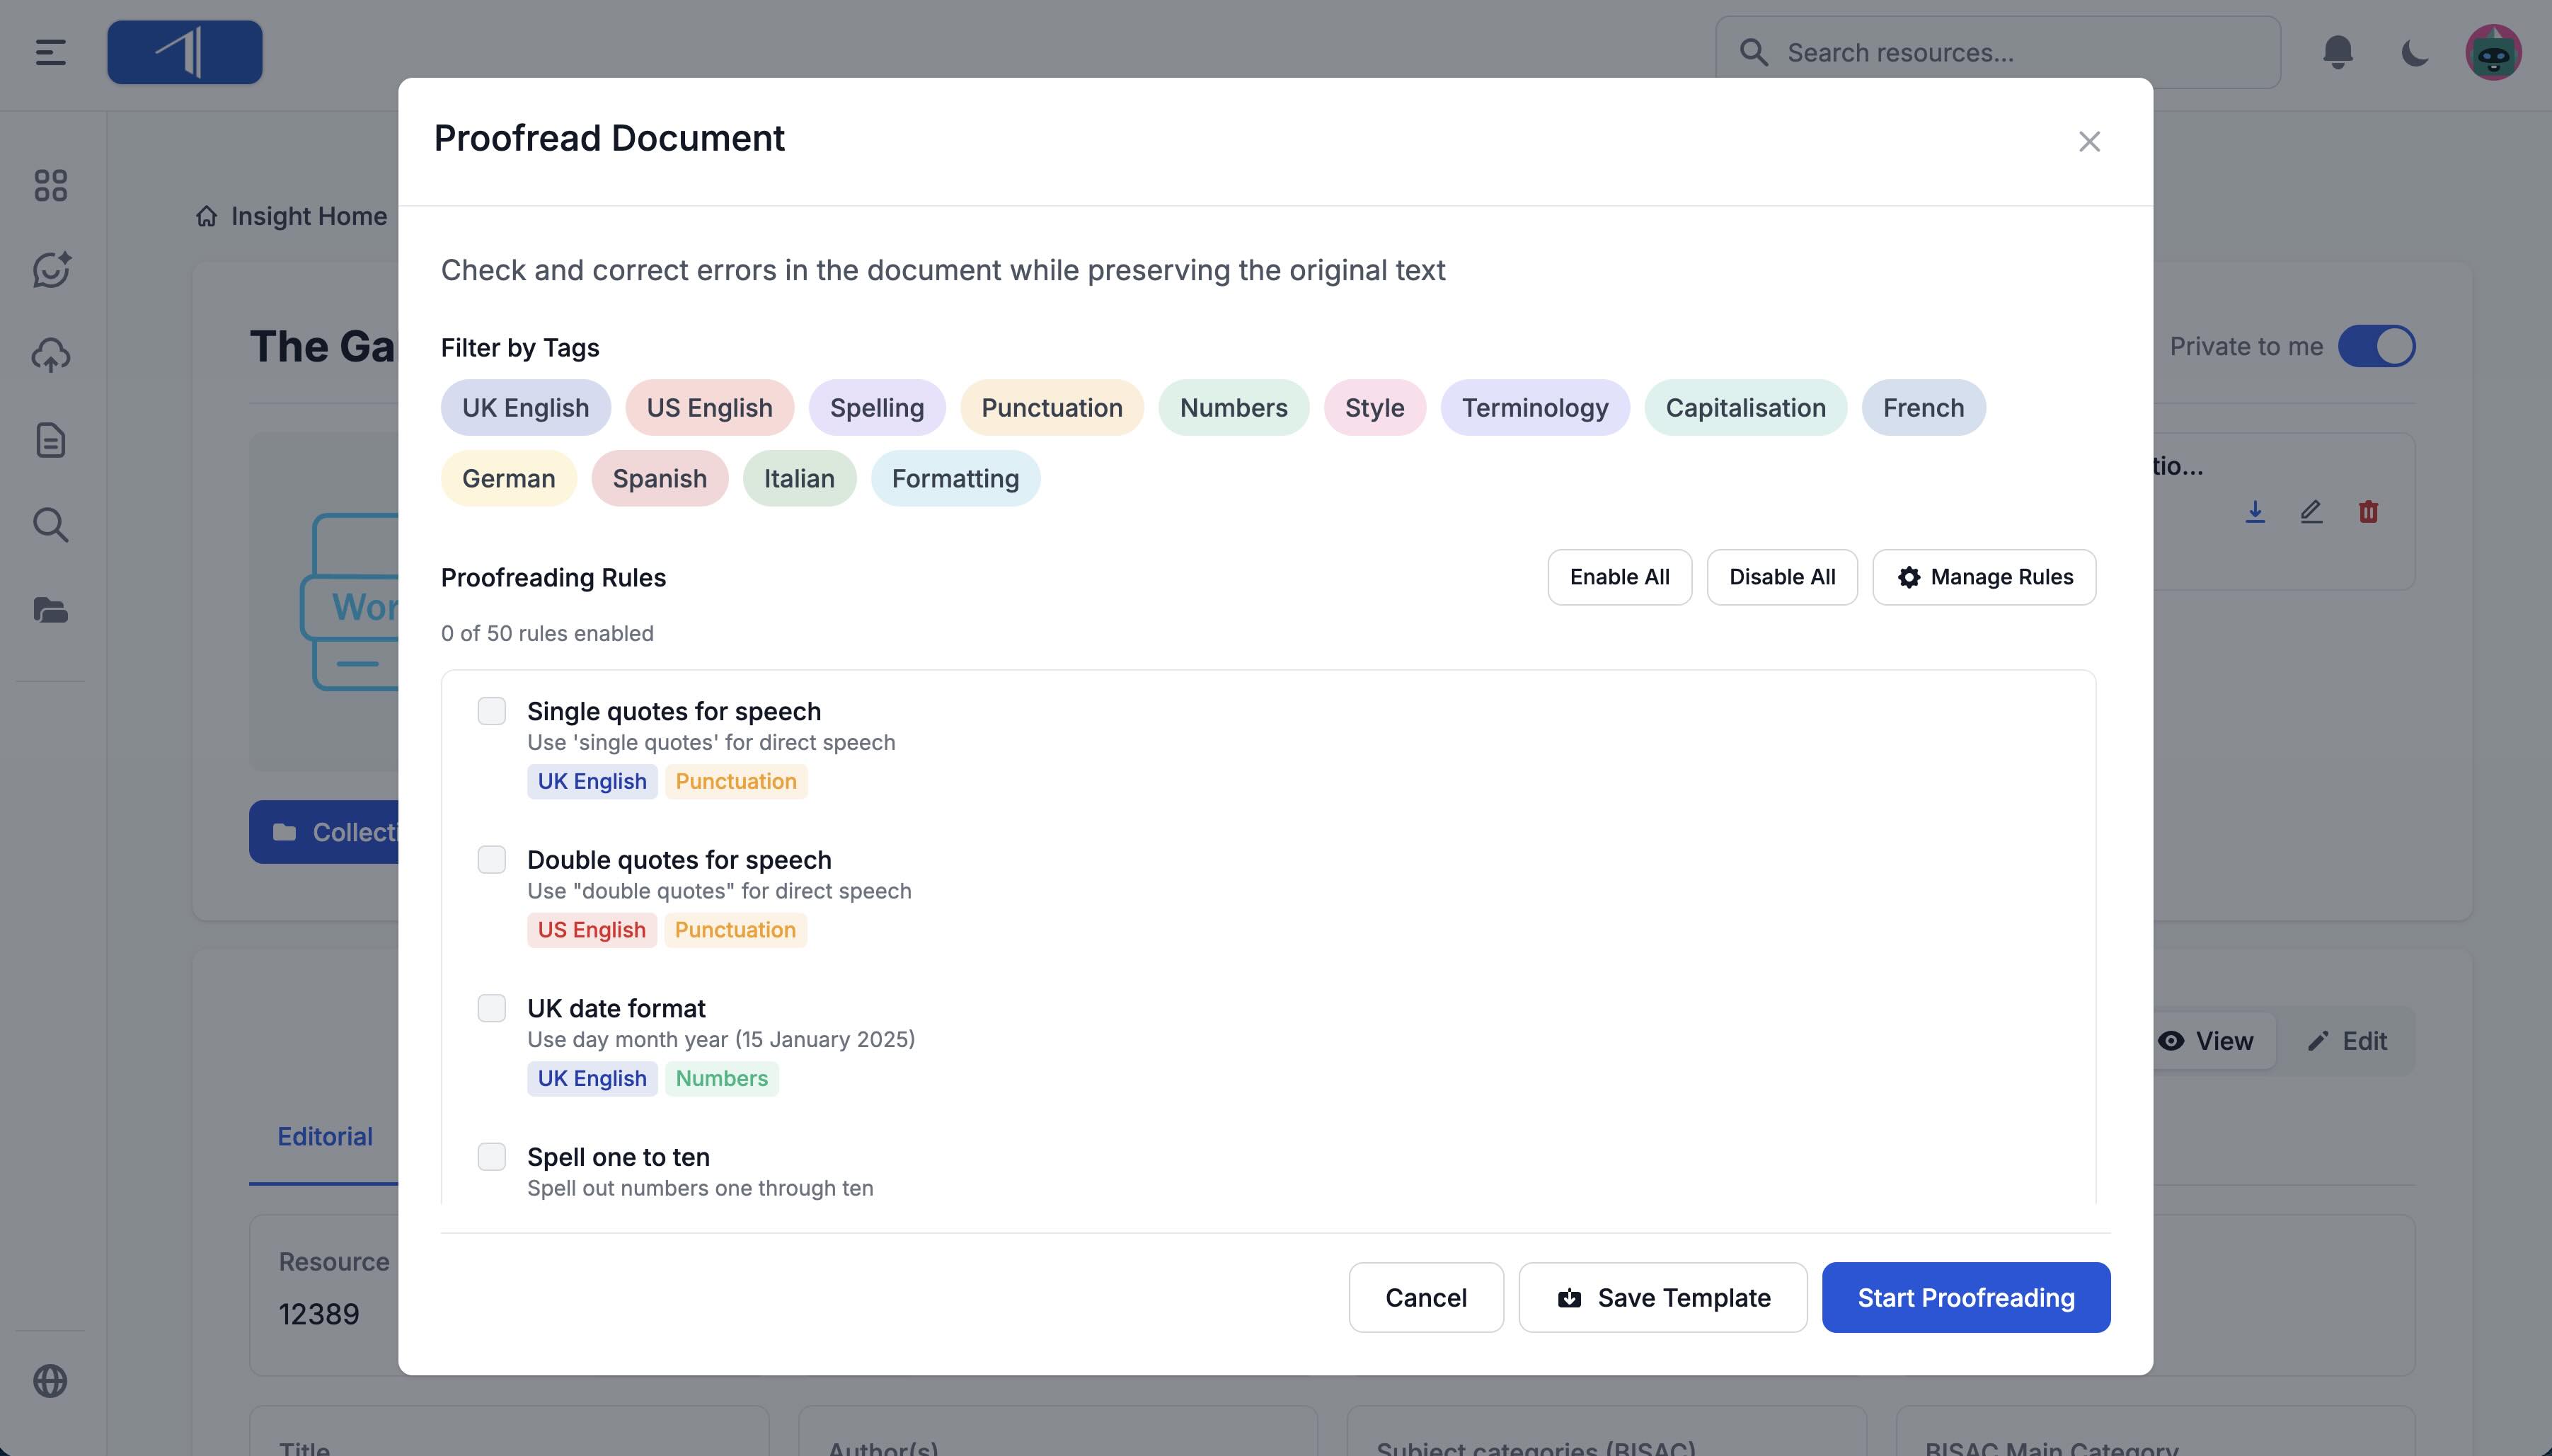
- Select a Ruleset to apply
- Click Start Proofreading
The tool creates a new file with corrections shown as tracked changes.
Select a Ruleset
A ruleset is a collection of proofreading rules that are applied together.
Important: You must select a ruleset before you can proofread a document.
Default rulesets:
Insight includes default rulesets for common languages. Each button shows the number of rules included:
- UK — British spelling, punctuation, and style
- US — American spelling, punctuation, and style
- FR, DE, IT, ES — Language-specific rules
Custom rulesets:
If you or your team have created custom rulesets, select one from the Custom Rulesets dropdown.
Review Your Proofread Document
After proofreading completes:
- Download the output file (it appears in the document’s additional files)
- Open it in Word or another editor that supports tracked changes
- Review each correction:
- Accept changes you agree with
- Reject changes you want to keep as-is
The Track changes option is enabled by default. Uncheck it if you want a clean document without revision marks.
Add Custom Instructions
For guidance that doesn’t fit a specific rule, use the Additional Instructions field:
- “Preserve all character dialogue exactly as written”
- “This is a historical novel—don’t modernize archaic spellings”
- “The author prefers ‘grey’ over ‘gray’”
These instructions supplement your selected ruleset and give the AI extra context.
The Rule Editor
Click Open Rule Editor in the Proofread Document window to customize how proofreading works. The Rule Editor has three tabs: Rulesets, Rules, and Tags.
Create a Custom Ruleset
Build a ruleset tailored to your house style or a specific project:
- In the Proofread dialog, click Open Rule Editor
- On the Rulesets tab, click New Ruleset
- Enter a name for your ruleset
- Select the rules you want to include:
- Use the tag filter to show only certain categories of rules
- Check individual rules to add them
- Use Enable All or Disable All for quick selection
- Choose sharing:
- Private (only me) — Only you can use this ruleset
- Share with my group — Your team can use it too
- Click Save
Your custom ruleset now appears as a button in the Proofread dialog and in the Custom Rulesets dropdown.
Tip: You can also duplicate a default ruleset as a starting point. Click Duplicate as custom next to any default ruleset to create an editable copy.
Create a Custom Rule

Build rules for your house style or specific requirements:
- In the Rule Editor, click the Rules tab
- Click Add Rule
- Fill in the form:
- Rule Name — A short label (e.g., “House style: em dashes”)
- Tags — Select categories to help organize and filter
- AI Instructions — Detailed guidance for the AI (this is the key field)
- Choose sharing:
- Private — Only you can use this rule
- Share with my group — Your team can use it too
- Click Save
Your custom rule appears in the rules list with your selected tags. Remember, adding a rule here does not apply it automatically — you must add it to a ruleset.
Tip: Keep each rule short and focused on a single concern. A good rule states one key concept followed by 3–4 supporting bullet points. You can view the default rules for examples of this format.
Example AI Instructions:
“Use em dashes with no spaces around them for parenthetical statements. Change any spaced em dashes (word — word) to unspaced (word—word). Also change double hyphens (–) to proper em dashes.”
Create Custom Tags
Organize rules with your own tag categories:
- In the Rule Editor, click the Tags tab
- Click Add Tag
- Fill in the form:
- Tag Name — The label for your tag
- Description — Brief explanation of what this tag covers
- Choose sharing (Private or Share with my group)
- Click Save
Use custom tags to group rules by project, client, or any category that fits your workflow.
View Existing Rules

- In the Rule Editor, click the Rules tab
- Use the dropdown to filter:
- All Rules — See everything (system rules + custom rules)
- My Rules — See only your custom rules
- Click a tag group to expand it and browse rules
- Click View full rule to see a rule’s AI instructions
Tips for Better Proofreading
Start with a default ruleset
- The default rulesets are a great starting point — duplicate one and customize it for your needs
Don’t mix regional styles
- Avoid combining UK and US rules in the same ruleset, as they can create conflicting corrections
Use Additional Instructions for exceptions
- If a document has intentional “errors” (dialect, stylized text), note them in Additional Instructions
Create project-specific rulesets
- Different books or documents may need different rules — create a ruleset for each
Review all changes
- The AI makes its best judgment, but you know your content best
- Always review tracked changes before accepting
Need Help?
Questions about proofreading? Email us at support@veristage.com.